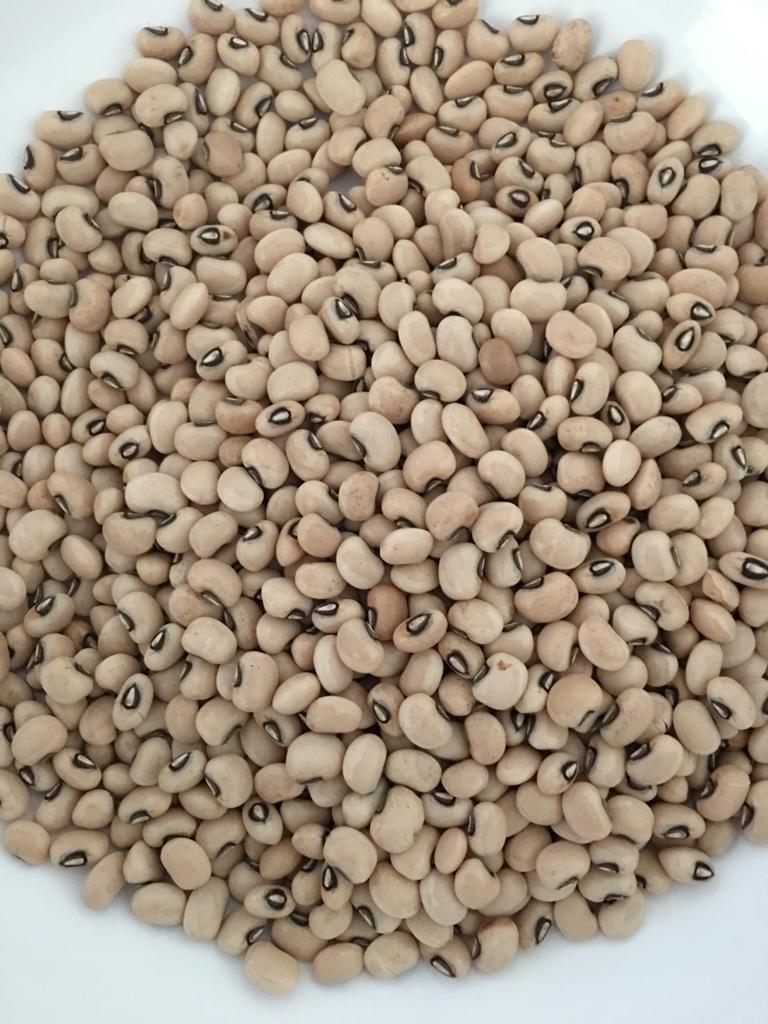
Lobia is the Hindi name of the Black Eyed Bean or Black Eyed Pea. This name comes from the fact that this bean has a prominent black spot on it. It is known as Chovli in Gujarati and Chawli in Marathi language. It is also known as Cow Pea in English.
I cooked this bean in a Punjabi style in a gravy of Onion and Tomato along with basic Indian dry spices. We need to first soak Lobia and then pressure cook it. Black Eyed Bean is one of the bean that does not require overnight soaking. I soaked them for three hours and then pressure cooked until 5 whistles (10 minutes). You can also soak them for 1 hour and then pressure cook little more. Or else if you have no time to soak then pressure cook for 30 minutes on a low flame. Adjust the soaking and cooking time as per your convenience.

 |
| Black Eyed Beans / Cow Peas / Lobia / Chovli / Chawli |
Here is the complete list of ingredients.
INGREDIENTS :
(1) 250 gms of Lobia
(2) 2 Onions
(3) 2 Tomatoes
(4) 3 whole green chilli
(5) 10 cloves of Garlic
(6) 1 inch sized Ginger
(7) 1/4 teaspoon of Turmeric powder
(8) 1/2 teaspoon of Kashmiri lal mirch powder
(9) 1 teaspoon of Coriander powder
(10) 3/4 teaspoon of Cumin powder
(11) 2 teaspoon of Kitchen King masala
(12) Kasuri Methi (I did not add this as I did not have, but I recommend this to be crushed and added as it enhances flavour)
(13) Cooking oil
(14) Salt to taste
(15) Coriander leaves for garnishing
Cuisine : North Indian
Serves : 4 persons
Time : 3 hours for soaking Lobia and 45 minutes for cooking
SOAKING LOBIA :
Soak the Lobia for 3-4 hours.
Drain the water and rinse the Lobia with water again. Again drain the water and keep the soaked Lobia aside.
 |
| Lobia |
 |
| Lobia soaked in water |
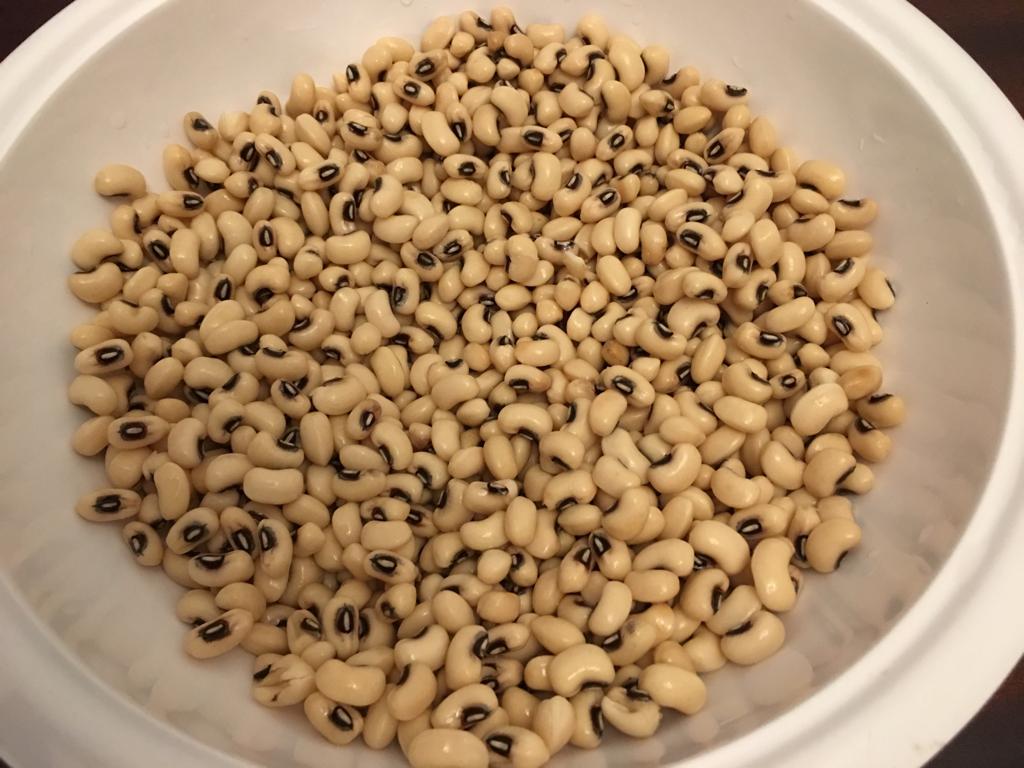 |
| Soaked Lobia |
METHOD :
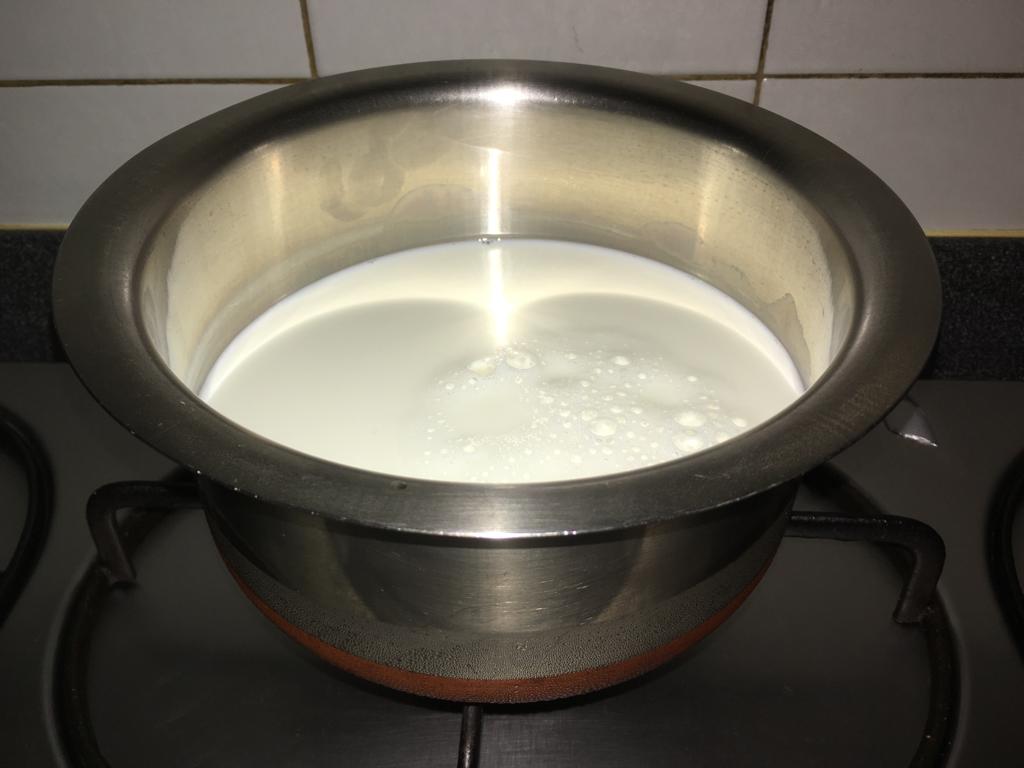
(1) In a pressure cooker, put the soaked Lobia. Add 3 glasses of water or till the water is 1 inch above the surface of the soaked Lobia. Add 1 teaspoon of salt and add half teaspoon of Turmeric powder. Close the lid of the pressure cooker and allow it cook for 5 whistles. Once done, allow the pressure of the cooker to release on its own. Then check if the Lobia is cooked once it has cooled. Press a piece of Lobia with the finger tips. If it gets easily mashed when pressed, then it means that it is cooked well. Keep it aside.
 |
| Soaked Lobia with 3 glasses of water taken in a pressure cooker |
 |
| Add Turmeric powder and Salt |
 |
| Pressure cook Lobia until 5 whistles |
 |
| Cooked Lobia |
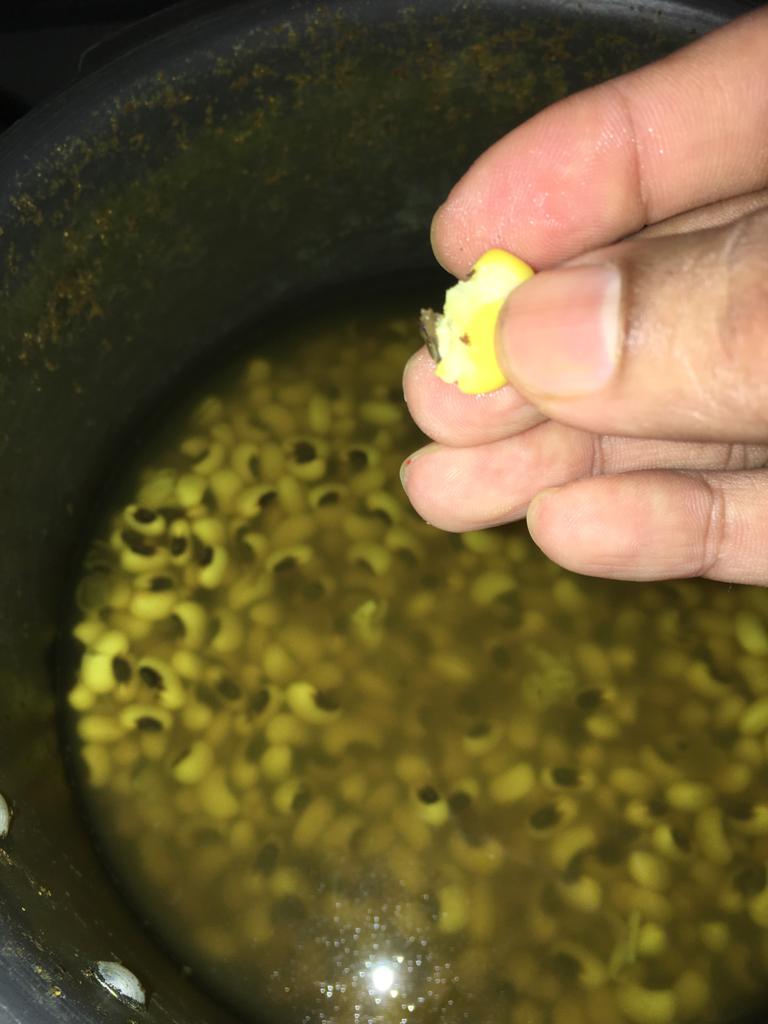 |
| Press a piece of Lobia with finger tips to check if cooked |
(2) Chop 3 medium sized Onions and a Tomato coarsely. Chop 3 green chillies. Finely chop 10 cloves of garlic and an inch sized ginger.

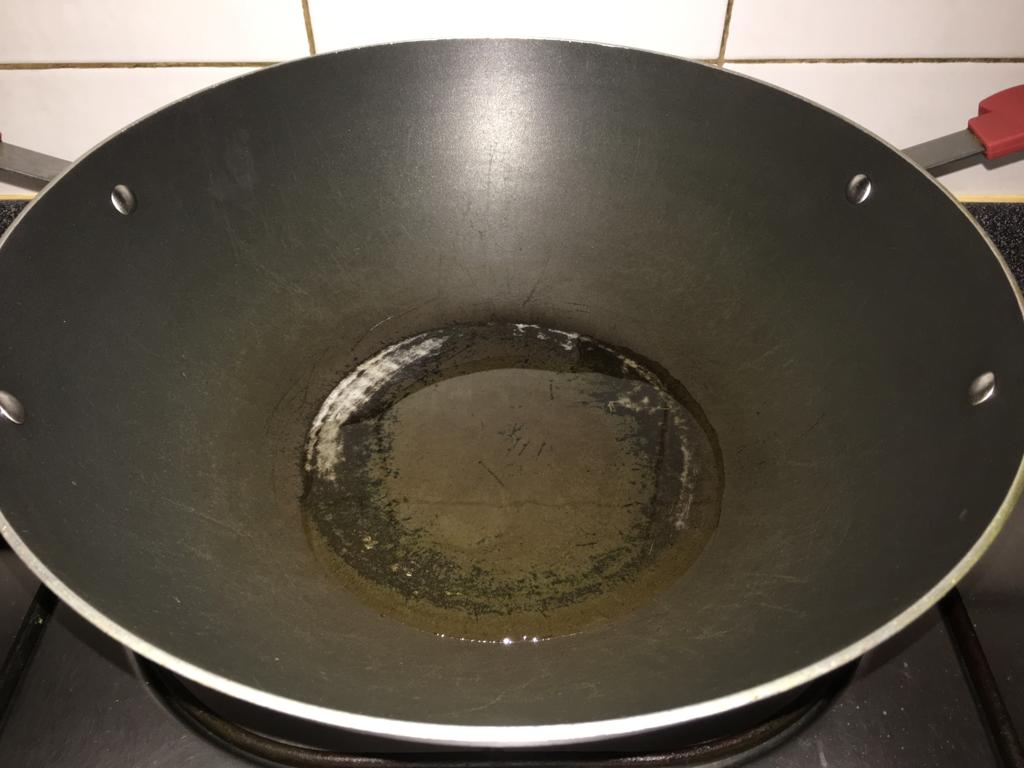
(3) Heat 4 tablespoon of oil in a kadhai / wok. Add chopped garlic and ginger to the warm oil. Saute for a minute or two till the raw smell of it goes away and the garlic turns golden brown in colour.
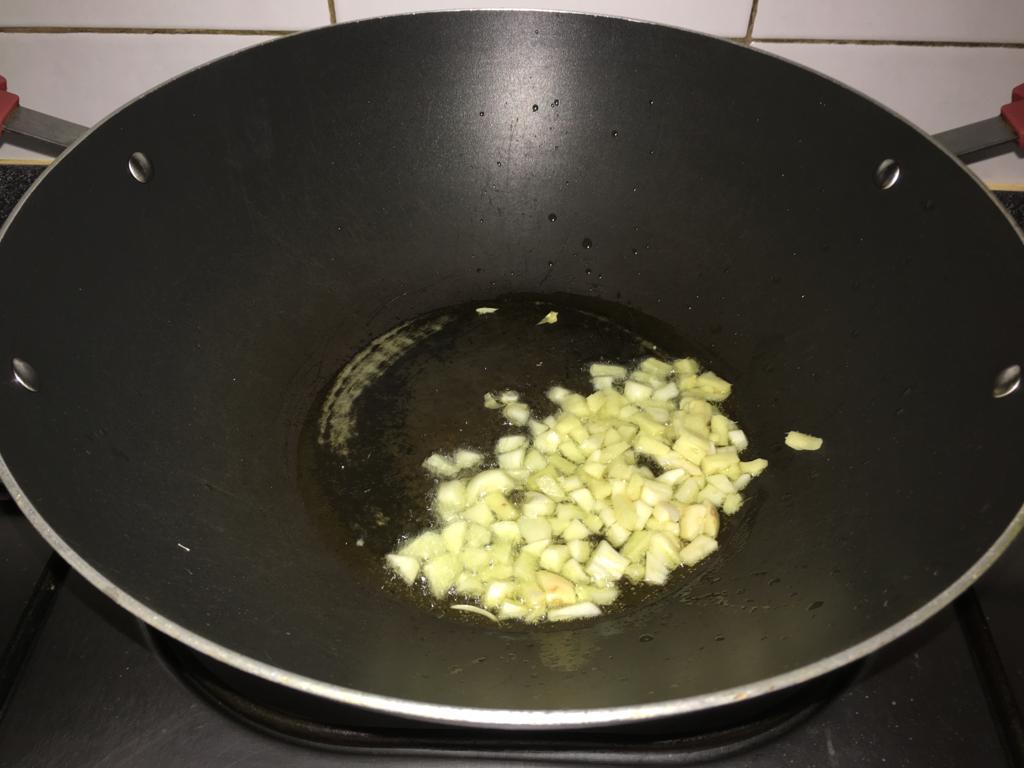


(4) Add chopped Onions along with chopped green chillies and sauté again for 4 minutes till the Onions turn golden in colour.


(5) Add chopped Tomatoes and sauté till they turn mushy.

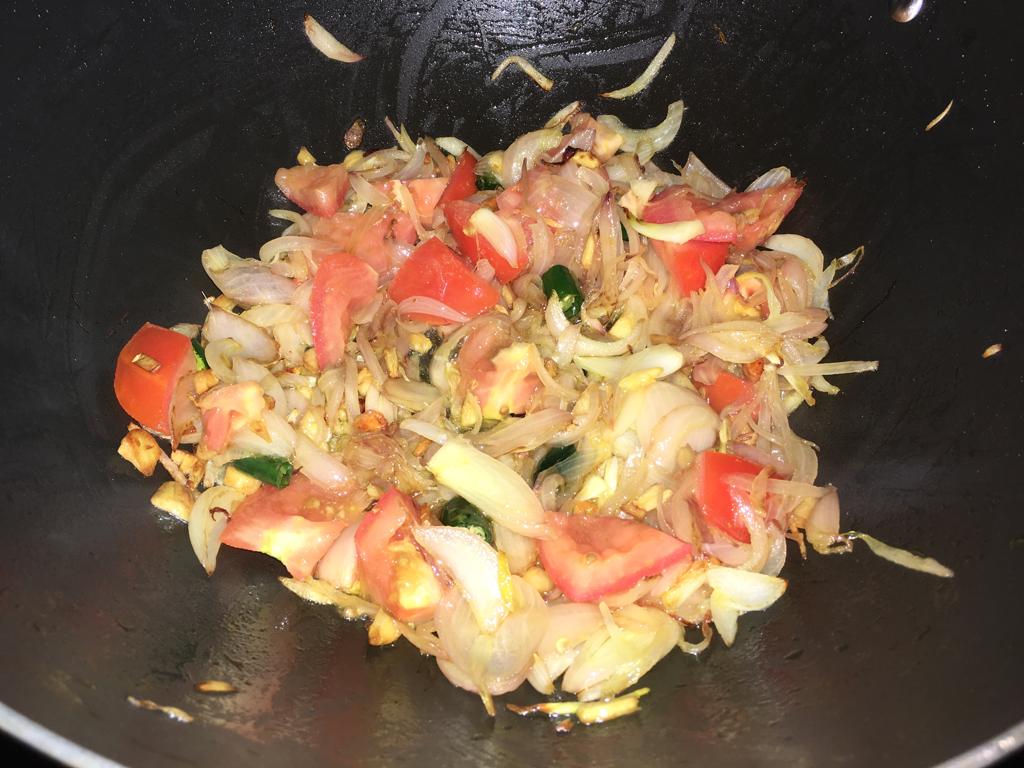

(6) Turn off the gas flame and allow the Onion Tomato mixture to cool down.
(7) Put the Onion Tomato mixture in a blending jar along with 3 fistful of cooked Lobia (Approximately 1 small cup sized). Grind it till you get a smooth paste. We added cooked Lobia to form a paste as this helps in thickening the gravy.


(8) Again heat 2 tablespoon of oil in the kadhai / wok. You can use the same kadhai that you used earlier.

(9) Add 1 teaspoons of Cumin seeds to the warm oil and allow it to splutter.
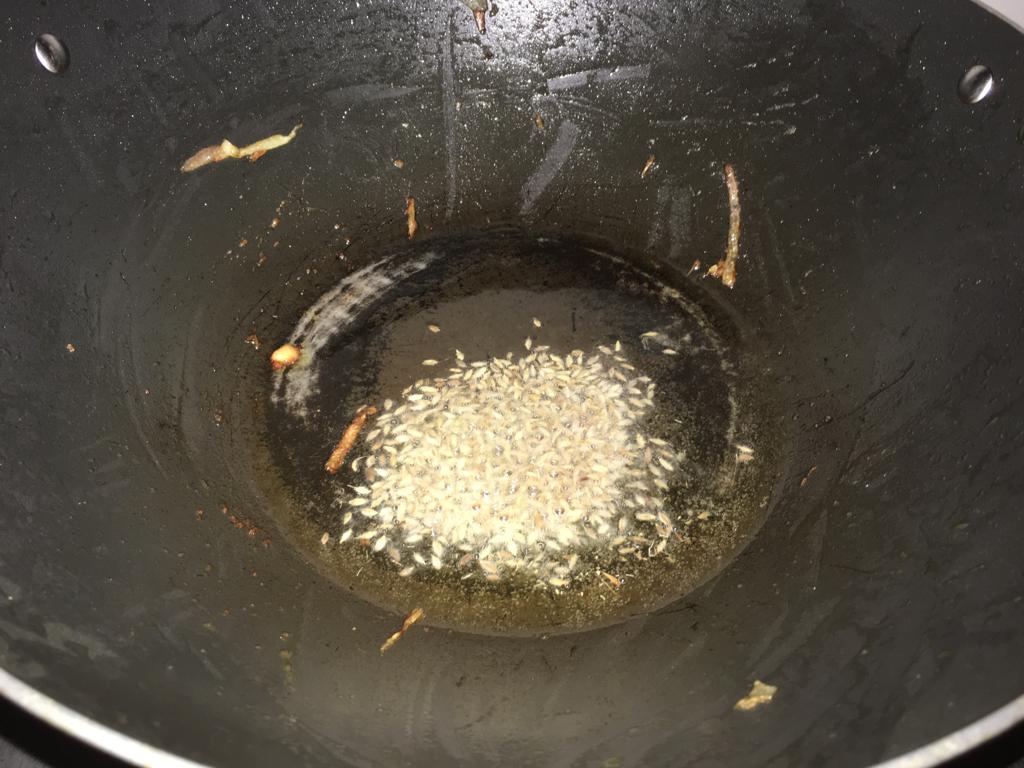
Once they change colour, add 2 pinch of Asafoetida.
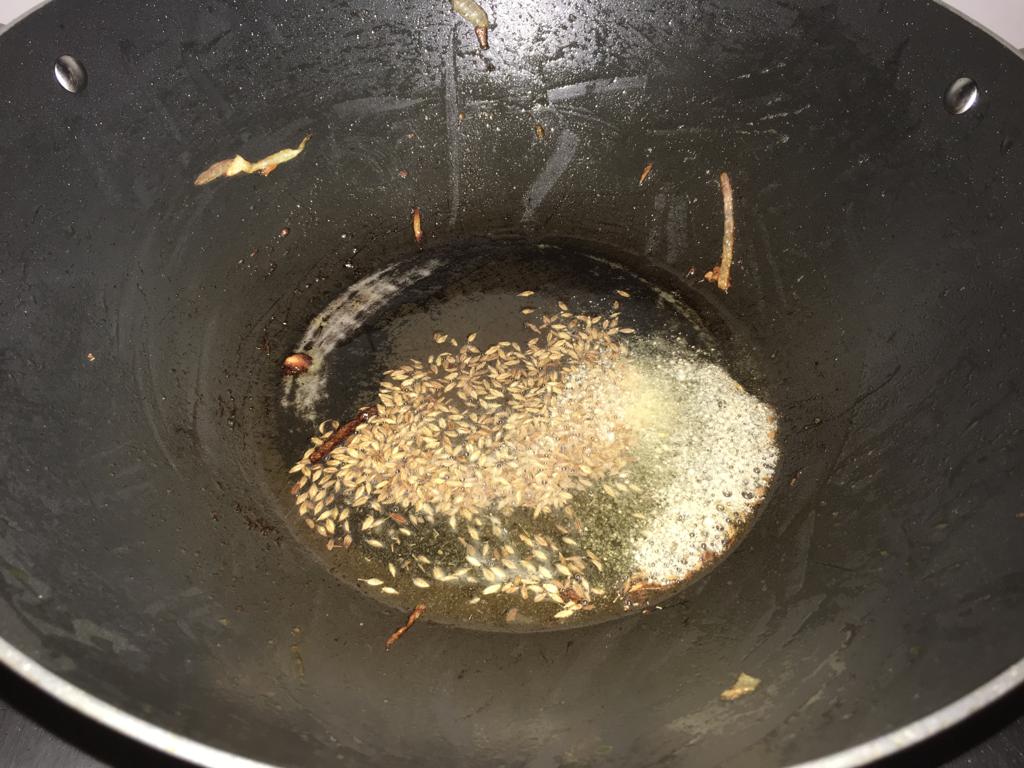
(10) Add the Onion Tomato Lobia paste to it. You can add little water to the blending jar and close it and shake well. That will help you to take the entire paste well from the blending jar.

(11) Add the basic dry Indian spices like Turmeric powder, Kashmiri red chilli powder, Cumin powder, Coriander powder and Kitchen King masala in measures as given in the ingredients list.
Mix well.

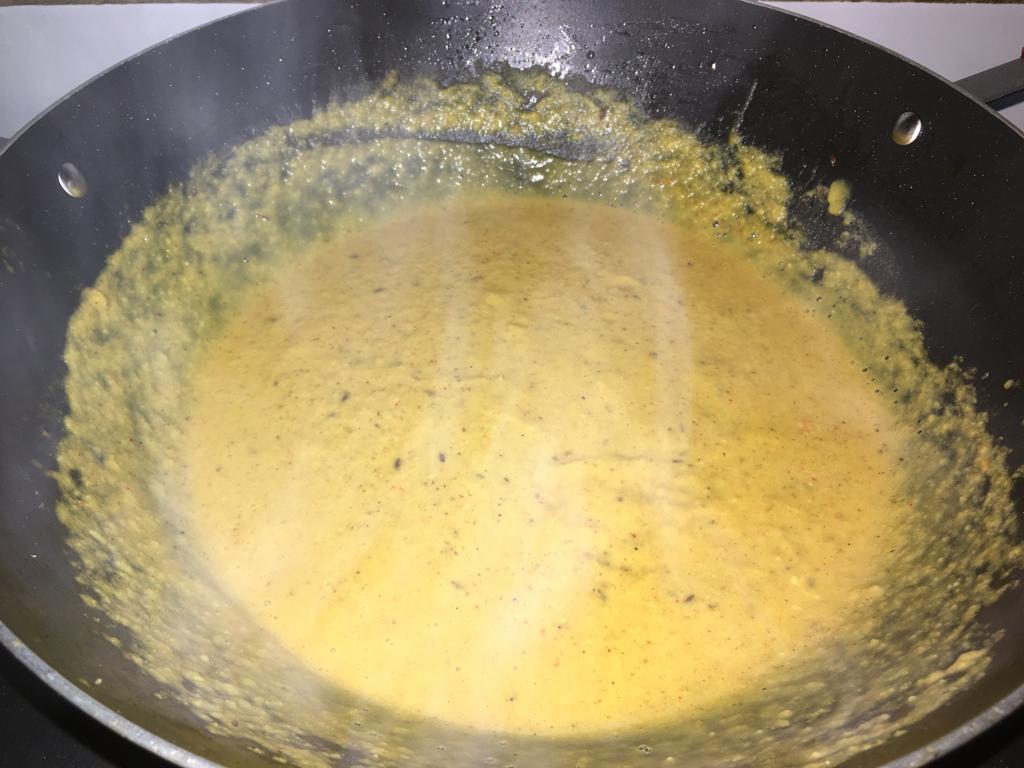
(12) Add all the cooked Lobia along with the water used for cooking the Lobia to this mixture formed in step 11. Mix well.

(13) Add salt to taste. As we had already added salt while pressure cooking Lobia, this time add very little salt to taste.
(14) Cover the lid and allow it to cook for 13-15 minutes. We are closing the lid and the curry splashes a lot while simmering. Keep stirring in between.

(15) Open the lid and mix well.


(16) Take 1 teaspoon of Kasuri Methi on your palm. Rub them with both palms and crush them and add to the curry. I did not have Kasuri Methi so did not add. However, I recommend my readers to add this if you have as it enhances the curry flavour. Also add chopped Coriander leaves and mix well. Again cover the lid and simmer for 2 minutes till the flavour of the Coriander leaves is released in the curry.
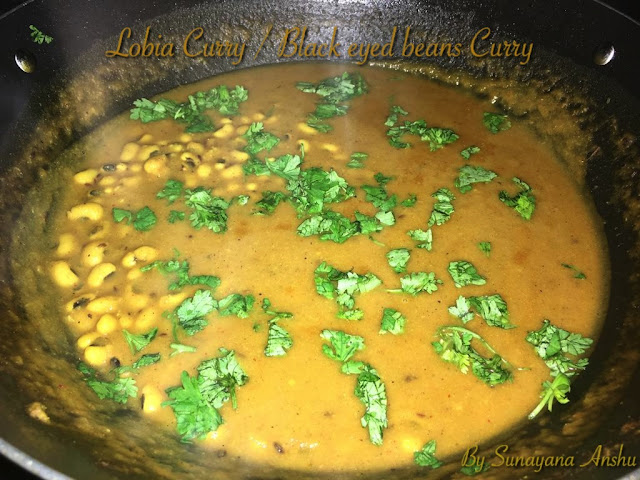
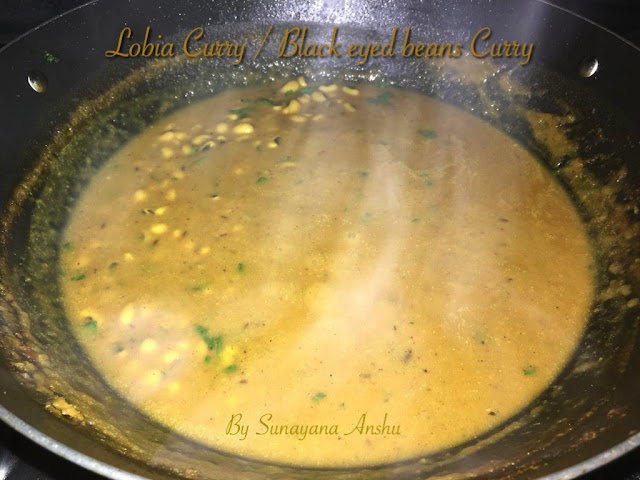


(17) When the desired consistency of the gravy is reached, turn off the gas flame. The Lobia curry is ready.
(19) Transfer the Lobia curry in a serving bowl.
(20) Garnish with Coriander leaves.


(21) Lobia curry goes well with Rice, chapatis and phulkas.
BENEFITS OF LOBIA :
(1) The requirement of key nutrients like Iron, Folate and Protein increases substantially during pregnancy. Being rich in these vital nutrients, it is a must include in the diet of every pregnant woman. A diet rich in folate reduces the risk of neural tube defect in the new born.
(2) Assists weight loss as it is low in calorie.
(3) It also lowers the cholesterol levels.
(4) Lobia is considered as a super rich food for the diabetics.
Lobia being rich in protein and soluble fibre content, makes it low glycemic index food, ideal for the diabetics.