Monday, 9 July 2018

Carrot Beet Juice


The best vegetables for the preparation of salads are Carrots and Beetroot, but the combination of these two can also be used in the preparation of a heavenly juice. This juice is loaded with vitamins and minerals. They aid in weight management and provide sufficient amount of energy and nourishment to the body. Carrots and Beetroot being naturally sweet in taste, there is no need of adding extra sugar to the juice. 


Here are the list of ingredients required.

INGREDIENTS :

(1) 1 large Carrot, peeled and ends removed, chopped
(2) 1 medium sized Beet root, ends removed and peeled, chopped
(3) 1 inch sized Ginger, peeled
(4) 1 - 2 tablespoon of Lemon juice
(5) 1/2 teaspoon of Pepper powder
(6) Rock Salt / Kala Namak as per taste required

Here are pictures of ingredients used.
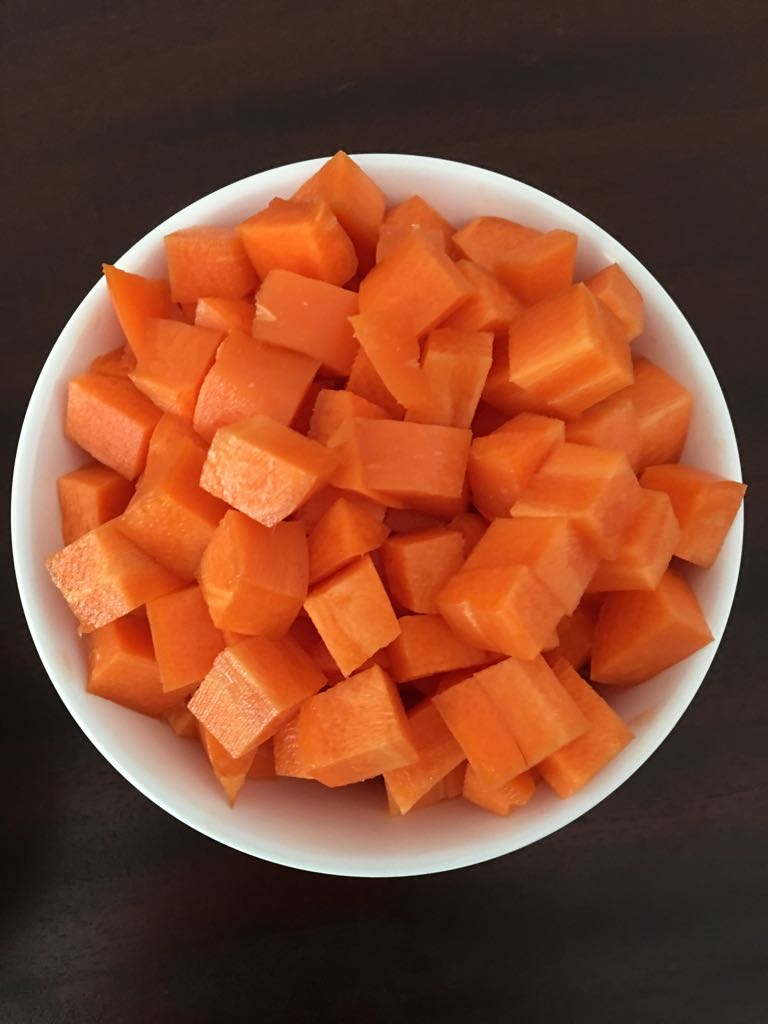
Chopped Carrot

Chopped Beetroot

Chopped Beetroot, Chopped Carrot, Pepper powder, Lemon, Ginger piece and Rock Salt


Here is the method to prepare Carrot Beet juice.

METHOD :

(1) Wash the Carrot and Beet root thoroughly. Then remove their ends and peel them. Chop them coarsely as shown.
(2) Peel and chop Ginger too.
(3) Take chopped Carrot, Beet root and Ginger in the grinding jar of a mixer grinder.

Chopped Carrot added in grinding jar

Chopped Beet added too

A piece of ginger added

(4) Add 1 glass of water and grind them until smooth.

After grinding

(5) Place a fine mesh sieve over a large bowl and pour the prepared mixture over it. This will strain the juice.

A utensil taken

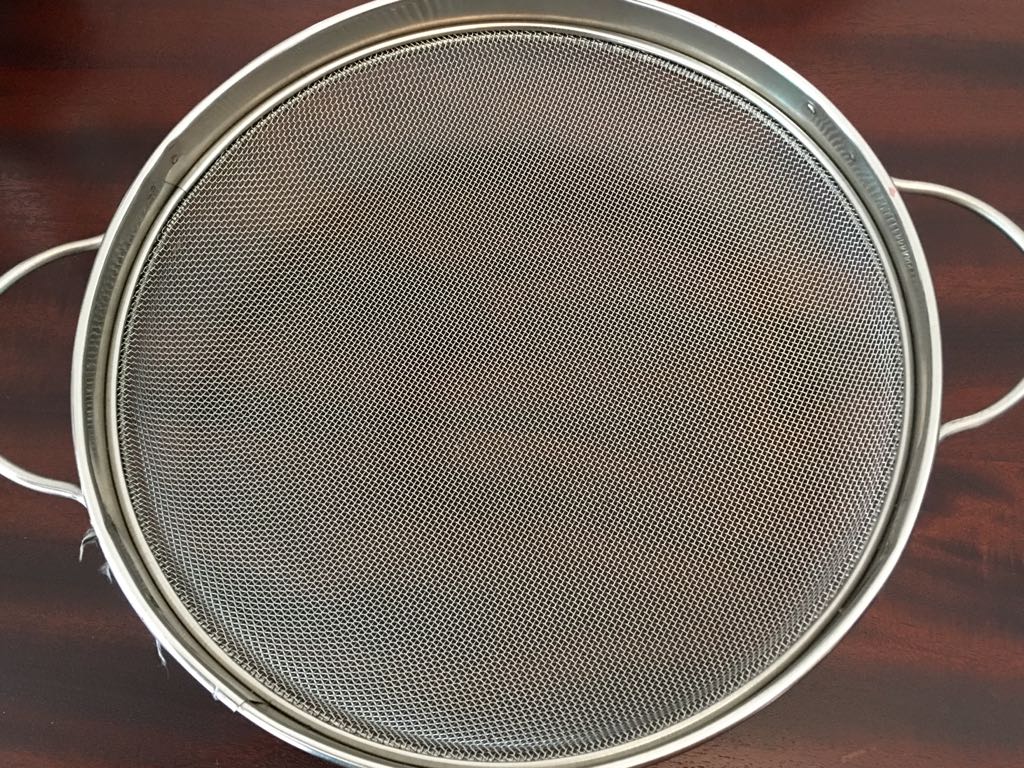
A sieve taken

Place the sieve over the utensil

Pour the smooth paste over the sieve

All the paste poured over the sieve


Add another glass of water in the grinding jar and use the paste left over in the grinding jar too. Pour over the sieve and strain it.


(6) Press the mixture with a large spoon to get maximum juice out of it. Discard the pulp.


(7) Add half teaspoon of  Rock Salt, Pepper powder as per taste required and 1-2  table spoon of lemon juice.
Stir well.

Add Rock Salt
Add Pepper powder

Add lemon juice


(8)  Carrot Beet juice is ready for serving. Pour them in a serving glass and have immediately to get maximum nutrients.


Drink a 200 ml glass of Carrot Beet juice every day for maximum benefits. But drink it fresh else the nutritional value of the juice diminishes.


Benefits of Beetroot Carrot juice:

(1) Prevents signs of ageing.

(2) Reduces pigmentation and blemishes on the skin.

(3) It moisturises dry skin.

(4) Prevents hair loss.

(5) If taken in right amount, it improves liver function.

(6) Boosts haemoglobin levels and helps in fighting Anemia.

(7) It lowers blood pressure and if consumed by a patient of hypertension, helps in reducing blood pressure.

(8) It helps in the production of red blood cells in the body.

(9) Fiber in beet helps in reducing Cholesterol.


Side effects of Beetroot Carrot juice:

Beetroot has many benefits, but if taken in a wrong way and in wrong amount can cause complications. 

(1) Beetroot if taken in excess can cause Kidney Stones. It can lead to the accumulation of Magnesium, Copper and Iron in the Liver, causing complications. It is okay to consume this juice once in a while but not daily.

(2) In rare cases, allergic reactions to beetroot include rashes, itchiness, fever and chills.

(3) Beetroot juice can cause sudden dip in blood pressure levels. If your blood pressure levels are already low or fluctuating, then this juice is strictly not for such individuals suffering from low blood pressure.

(4) For those suffering from Gastrointestinal issues, this juice can aggravate the issue. They can also cause bloating, cramping and flatulence. It can cause even Constipation and Diarrhea.

(5) Being allergic to beet can cause cramping / gas pains in the stomach.

(6) For those having issues related to blood sugar levels, again should avoid beet juice as beet cause spike in blood sugar levels.


Take doctors advice if not sure if it is suitable for you.

Thursday, 14 June 2018

Wheat Sooji Idli


Idli is one of my and my family’s favourite South Indian food item and I have already posted the recipe of an Idli in my previous post.

This time, I have tried a variation of an Idli, in which instead of regular rice, I have used Wheat Sooji. Urad dal and methi dana / fenugreek seeds are rest of the components of the Idli.
As I am using Wheat Sooji here, I have given it a name Wheat Sooji Idli.

This is one another addition to my idli list.


EQUIPMENTS NEEDED :

(1) Stone Wet Grinder or Indian Mixer Grinder (I used the Indian Mixer Grinder)
(2) Idli Steamer

INGREDIENTS :

(1) 125 gms of Urad dal (Whole Skinless Black gram / Split Skinless Black gram)
(2) 250 gms of Wheat Sooji
(3) 25 Methi dana / Fenugreek seeds equals to two pinch
(4) 1 teaspoon of Salt or as per taste required
(5) Water for grinding


Here are the pictures of the ingredients used.

125 gms of Urad dal (Split skinless black gram)

250 gms of Wheat Sooji

Fenugreek seeds / Methi Dana


METHOD :

SOAKING :


(1) Take 125 gms of Urad dal along with 25 Methi dana / Fenugreek seeds in a utensil as shown.

Urad dal - 125 gms and 25 Methi dana / Fenugreek seeds

(2) Wash it until the water runs clean.

Urad Dal washed

(3) Now once it is washed, add water and soak Urad dal for 4-6 hours.

Urad dal soaked in water for 4-6 hours

(4) After the completion of 4-6 hours, drain the water from the utensil and you will get soaked Urad dal (With Methi dana).

Soaked Urad dal

STEAM THE WHEAT SOOJI:


(1) Spread a Muslin Cloth or a big cotton cloth as shown in the figure. On that, in the centre, pour the 250 gms of Wheat Sooji.


(2) Tie a knot with a string as shown in the figure. The string material is also of a cotton cloth. 


(3) Take an Idli Steamer as shown below.


(4) Fill the Idli Steamer with water upto a level as shown in the same figure.

(5) Then place this tied Wheat Sooji on the idli stand inside the idli steamer as shown in the figure.


(6) Cover the lid of the idli steamer and steam for 10 minutes.


(7) After 10 minutes, turn off the gas flame and allow it to cool down. 


(8) Take out the bundle of Wheat Sooji from the steamer and keep on a table. Open the string and see that it looks like this.


(9) Break the lumps of the Sooji formed due to steaming with the help of a spoon and spread them as shown in the figure. Let the Wheat Sooji cool down.


Once cooled, they can be used during the further process as given below.


GRINDING :


(1) Take the soaked Urad dal in a grinding jar of an Indian Mixer Grinder.


(2) Add 50 ml of water to it.


(3) Grind until very smooth paste is formed along with bubbles as shown.


(4) To this add the steamed Wheat Sooji.


(5) Add 350 ml of water and 1 teaspoon of Salt or as per taste required. 

(6) Grind for 3-5 seconds only to mix the Wheat Sooji with the Urad dal so as to blend them together.


(7) Transfer the batter from the grinding jar into another utensil.

If you grinding jar does not have enough space to hold 350 ml of water, then add 150 ml of water and do the grinding for 3-5 seconds and later after transferring the batter into another utensil, you may add remaining 200 ml of water and mix well.

(8) Here is the picture of the batter after grinding. And a video that shows the consistency of the batter.


FERMENTATION :


(1) Make sure the utensil in which we took the batter is large enough.
This is because, we will be keeping the batter to ferment overnight (about 8 hours)

(2) When the batter ferments, it rises and we need that space in the utensil to allow the batter to rise and not overflow from the utensil.
I am sorry I don’t have the picture of the fermented batter.

STEAM THE IDLI :

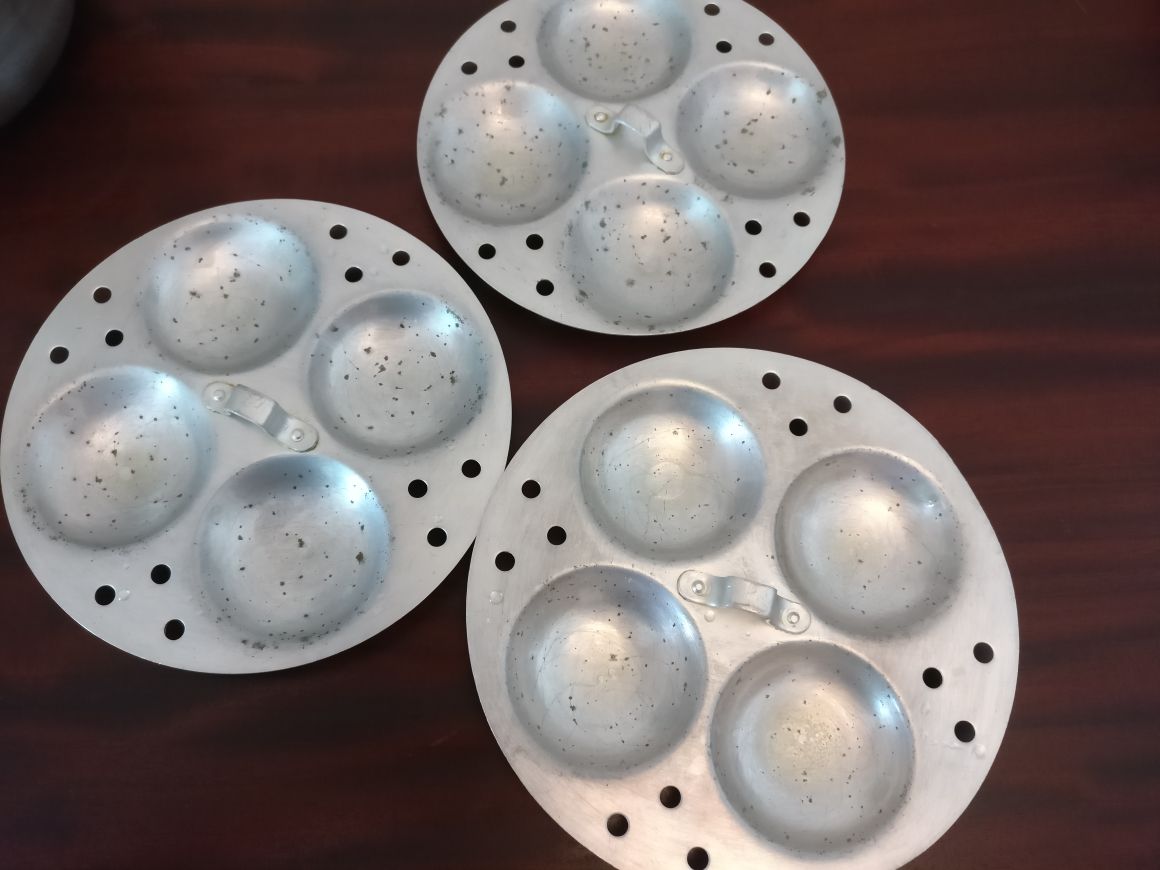
(1) Take an Idli Steamer as shown below.

(2) Fill the Idli Steamer with water upto a level as shown in the figure.


(3) Grease the moulds of the three idli stands with oil.


(4) Pour ladleful of Wheat Sooji Idli batter in each of the moulds.


(5) Place the Idli stands in the steamer and turn on the gas stove. 


Cover the lid of the idli steamer.


(6) Allow the idli to get steamed for about 15-20 minutes.
After 20 minutes, I turned off the gas stove.
Allowed the idli stand to stay for another 10 minutes.
After that, open the lid.


(7) Take a fork and prick it into the idli and if it comes out clean, it would mean that the idli is cooked.

(8) The soft, porous and fluffy idlis are ready. Here is the image of the cooked idlis.


(9) Scoop out the idlis using a spoon.


(10) Serve hot with Sambar. I have shown Mooli (Radish) Sambar in the picture. You may use any vegetable Sambar.


You may also serve it with Coconut Chutney. I am sorry I don’t have picture with the same. You may however refer to the recipe of Coriander Coconut Chutney (Green Chutney) by clicking on the link below.